Everything You Need to Know About Tooling in Manufacturing
If you’ve ever seen fossil molds and casts, you can consider yourself familiar with the basics of tooling in the manufacturing industry.
Every manufacturing and molding process relies on tooling or machine tooling. It’s a term used to describe manufacturing essentials like molds, jigs, and fixtures used in the production process.
After all, a plastic injection molding machine is only as good as the tools used to make it. Because of the importance of appropriate tool design, your plastic item will never be scaled up correctly. It may save you tremendous amounts of money throughout production by having a well-designed tool.
Welcome to the wide world of tooling in manufacturing.
Keep on reading for our full breakdown of everything you need to know about conventional tooling.
Tooling in Manufacturing 101: What Is Tooling?
A “mold,” or “tooling,” is the area in which manufacturers pour molten plastic resin to make a finished product.
You can only achieve high-volume production and high-quality components with the correct tooling. The complexity of a tool’s design and production necessitates a significant capital investment. It also needs sufficient lead time to produce an effective instrument.
What Is Soft Tooling?
Manufacturers can make large to low numbers of components at high speeds. They can use soft tooling and affordable tooling technology often used with cast urethane molding.
It is the most popular soft tool for cast urethane suited for prototype and low-volume production runs. As a result, producers may employ a wide range of materials without worrying about compatibility issues with soft tooling.
Prototyping or any other project requiring a functioning product with a nice finish might benefit from this approach. Complex mold designs that would take too long to build using conventional methods benefit significantly from soft tooling.
It is, nevertheless, essential to note that soft tooling has its drawbacks. Because soft tool materials must be soft, they frequently lack the durability or wear-resistance of hard tooling. It’s very uncommon for tools made of silicone to last just a few dozen uses before you need to replace them with new ones.
Once you’re done with the tooling, it isn’t easy to modify the soft tools.
What Is Hard Tooling?
Injection molding tooling is often made using the hard tooling technique.
Durable metals, such as steel or nickel alloys, make hard tools. It enables manufacturers to swiftly create large numbers of components. All they need is to withstand several manufacturing cycles.
Hard tooling is preferable to soft tooling when you must meet tight tolerances. And, if you need to keep an eye on testing requirements, and function criteria. You can make durable, high-precision products using this tooling type.
When it comes to the initial production expenditures, hard tooling is far more costly and time-consuming than soft tooling. The use of hard tooling is seldom cost-effective for short production runs or for bringing items to market as soon as feasible.
Heat treatments, post-processing, and further machining are required to create a smooth finish on hard tools. A smooth finish ensures a flawless layup when it comes to hard equipment.
Understanding the Soft vs. Hard Tooling Debate
Engineers, designers, and components manufacturers should consider the amount of time they have available for development. It’s critical to do so before deciding whether to use soft or hard tooling for their next project. Soft tooling may be a preferable alternative if speed, flexibility, and cost are your primary concerns.
Hard tooling may be a better option if a component maker has a predetermined plan to create a highly exact product. And, they are willing to bear the extra costs and effort. A skilled manufacturing partner can provide unique insights and make the appropriate selection.
What Is Prototype Tooling?
Prototyping is the first step in the tooling design process. It is utilized to diagnose, develop and verify the tool design during pilot production using these low volume prototypes. 3D printing, cast urethane, and machining are used to make prototype tools.
Even though it may seem like an unnecessary upfront expense, you’ll want to reduce production and assembly mistakes as early as possible. It will save you a lot of time and money in the long run.
What’s the Significance of Tooling?
As a result, tooling plays a crucial role in production since it determines the quality and accuracy of the completed product. Put another way, effective tooling ensures that a product works as expected, is repeatable, and saves time and money.
An expert tooling producer’s responsibility is to supply precisely the right tools for deep draw metal forming. This enables faster and more cost-effective production processes. Reliability, repeatability, and time savings associated with repairs and maintenance are all enhanced by using proper tools.
Final pieces must always fall within a certain tolerance to ensure proper operation. Failure to make suitable tooling may lead to a subpar final product with flaws that indicate it will break or deteriorate rapidly. Tooling failure may cause production delays, wasted time, or even the rejection of a finished product. This is where the beauty of rapid tooling shines.
Designing tools that best fulfill the part’s essential characteristics and functions is the first step in a successful tooling process. Several factors affect the cost of the tooling process, including the complexity of the item, the number of operations necessary, and the required tolerances.
Types of Tooling and Their Various Forms
Before we delve into the various tooling forms, let’s highlight the features they all have in common.
First, we have the cavity half. This side of the tool is stationary. Molding machines often have one of these connected to the back or side. Then, there’s the core half. It’s the side that you can open and close with the mold machine. It would only open when you’re removing the part from the tool.
Next, we have the cooling lines. These channels allow the coolant to reach the tool and adjust the plastic part’s cooling. There’s the ejector system, pins on the tool’s core half act as ejectors, pushing the molded item out of the tool after cooling.
The press needs a runner for the plastic resin to flow straight into the component cavity. And, inside the part cavity, you may add some parts to allow for undercuts in part, which are called “side actions.”
Now, you’re ready to explore the actual tooling forms.
Injection Mold
This kind of tooling is among the most frequent. You may use several other materials, but the most frequent is steel or alloy.
Using a simple two-part core and cavity, it seals with hydraulic pressure. Plastic pellets in a hopper are melted and pumped under high pressure into the mold cavity to take on the form of the object being made there. When the mold is cold enough to handle, you may separate the two pieces and the plastic component removed.
Any remaining plastic from the injection site must be removed before the item can be assembled or post-processed, such as painting, chromium plating, and printing with extra features such as a corporate logo or other design. In this way, this is how manufacturers make pen caps and food storage containers.
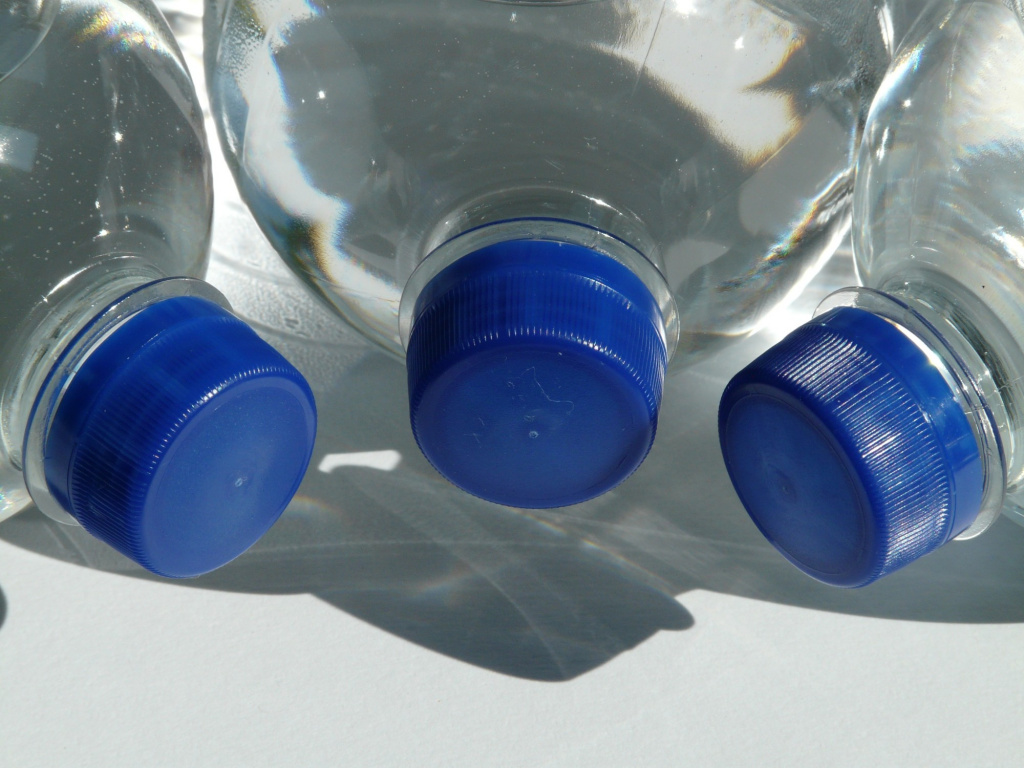
Blow Mold
An injection mold has a core and a cavity. However, this tooling needs a cavity and no core to manufacture. Machined from a block of steel or alloy, this tool creates a negative for the finished product.
The two sides of the blow mold chamber come together to construct a curtain of melting plastic, encasing it inside the mold throughout manufacturing. A hollowed-out portion is expelled from the mold after it has cooled down. Additionally, an injector (a needle) is caught between the two parts, which shoots air into the melting plastic and sends it outwards against the mold walls, forming the finished product’s final shape.
Pop bottles, water jugs, and oil bottles are all made using this method.
The Rotational Mold (Roto Mold)
A blow mold in a building is similar, but the method is entirely different. A mold joins the two chambers of this equipment containing a predetermined amount of plastic pellets.
Rotating numerous axes, the mold is heated to the melting point, resulting in an inner coating of plastic. When it comes to making huge and thicker pieces, the process or “cycle time” of injection molding is much longer than that of blow molding.
For example, this is how specific kayaks and other big water storage containers, playground equipment, and the like are constructed.
A tool is merely a working or manufacturing assistance necessary for producing a product or component. Dies, gauges, molds, jigs, and cutting tools may all be included. On the other hand, manufacturers like to use the term “tooling” in a more specific meaning, such as a mold, when referring to their products’ tooling.
Designing and Making a Tool: The Basics
A wide range of criteria, including the tool’s complexity, lifespan, application, and prospective production volume, must be considered while designing and selecting proper tooling.
The most challenging component of the tooling process is deciding which tooling to buy. Direct investment in costly production tooling for the long term is most cost-beneficial if the item goes straight to prominent volume contract manufacture. Low-volume manufacturing may need the use of prototype tooling until production considerably rises.
Tool Design Process
In the tool design process, toolmakers may give a great deal of aid due to their extensive fabricating and designing tooling knowledge.
You can perform mold flow evaluations to improve the tooling design, and You can select the ideal locations for parting lines, gates, and ejection points. By working directly with toolmakers, a top-notch product design engineer can guarantee that you get precisely the right tool for your project’s specific needs.
After working with the toolmakers on the design, the component is now ready for the T1 sample stage. It is clear from the T1 sample that the tooling is up to making high-quality components. Depending on design factors, manufacturers will build the first tool with a lead time of 2 to 16 weeks.
Modifications and cosmetic mold texturing may commence after acceptance of the T1 sample. It might take up to a week to complete these additional improvements. Texture and appearance are checked on the updated molds, known as T2 samples.
The T2 Samples Process
The contract manufacturer receives the T2 samples if they are authorized.
While in the hands of a producer, they put the T2 samples on their paces on a manufacturing line where they undergo process development and part qualification testing. A series of molding studies are performed on the tooling to determine the best circumstances and attributes for utilizing that tool to make components.
To isolate the effects of process inputs on the qualities of a product, manufacturers conduct design experiments. The molder may validate an appropriate processing window for producing components within specification using all of this preliminary testing.
When the first process development, qualification, and validations have been completed, you will put it into production maintenance. Regular checks for wear and other possible problems that might influence the component quality or tooling lifespan are performed on this machine regularly.
For the whole process from prototype to production, it might take months and a large amount of money to get it right. Designing for production must be done throughout the whole product development process. High-volume tooling design might be difficult to transfer from a simple machining or 3D printing prototype.
As a general rule, working with a product development business that is well versed in both the creation of tools and production processes is a good idea.
The Nuances of Tooling: Explained
If you’re new to machine tooling, things can be somewhat overwhelming initially. Hopefully, our guide has shed some light on how tooling in manufacturing works and its different subcategories.
And, if you’re still looking for more information about using rapid tooling, you should check out our manufacturing section for all the additional tips and explainers you could possibly need.
Ben Stern wrote this article on behalf of FreeUp. FreeUp is the fastest-growing freelance marketplace in the US. FreeUp only accepts the top 1% of freelance applicants. Click here to get access to the top freelancers in the world.
HTV Native Ad Solutions and Hearst partners may earn revenue when readers click affiliate links in this article.